
Why Photographing Your Artwork Matters- And how to do it right!
- Erica Gavzy

- 4 hours ago
- 3 min read
You’ve spent hours on a piece—getting the colors right, refining the details, making it say exactly what you intended. But if the photo doesn’t do it justice, does anyone else see what you see?

Photographing your artwork isn’t just documentation; it’s presentation. Here’s why getting it right matters:
It represents your vision. A bad photo can warp colors, lose texture, or introduce weird shadows. When you photograph accurately, you’re letting the work speak for itself—not the lighting in your room.
It builds your portfolio. Whether for college applications, exhibitions, or social media, your portfolio is often how people first encounter your art. High-quality images show professionalism and respect for your own craft.
It preserves the work. Once a piece leaves your hands or gets sold, the photo is often all that remains. A good record keeps the memory—and the details—alive.
It levels the playing field. In the digital age, your work lives on screens as much as walls. A crisp, well-lit image ensures your art gets the attention it deserves, right next to anything else in a feed or gallery.
Lighting is Everything
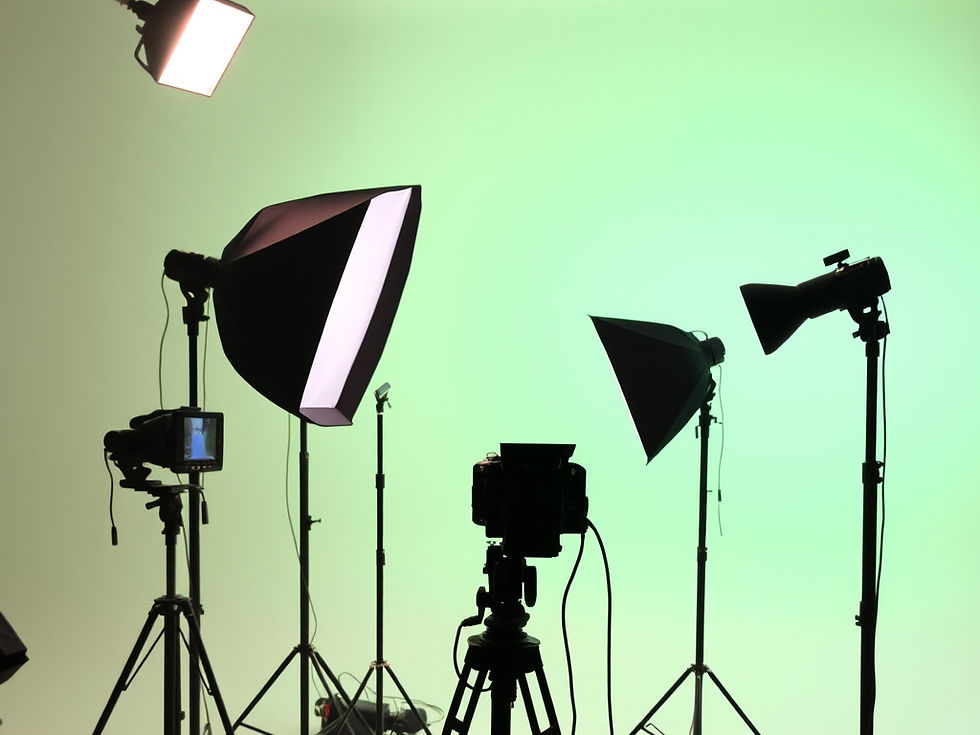
Go indirect: Natural light is best, but not direct sunlight. It creates harsh glare and blows out highlights. Shoot near a window on a cloudy day, or in the shade of a building.
Watch the shadows: If you’re indoors, turn off overhead lights. They can create weird color casts (usually yellow or green). Stick to window light.
Use a reflector: If one side of the artwork is too dark, bounce light back onto it using a piece of white posterboard or foam core.
Keep it Steady and Level
The "Parallel" Rule: Keep your camera sensor perfectly parallel to the artwork. If the camera is tilted, the piece will look distorted (keystoned).
Tripod it: If you have one, use it. If not, brace your arms against your body or rest the camera on a stable surface. Blur is usually from camera shake, not bad focus.
Clean the lens: It sounds basic, but a smudge on your phone lens can make everything look hazy.
Background and Context

Go neutral: Photograph 2D work against a plain white, black, or gray wall. Busy backgrounds distract from the art.
For 3D work: Use a seamless backdrop (sweeps of paper work great) so you don't see the table edge or the floor. It makes the sculpture look like it's floating.
The Digital Touch-Up
Shoot in RAW (if possible): It gives you more data to work with later. If shooting on a phone, just make sure you’re not using a low-res mode.
Straighten and crop: Use editing software to ensure the edges of the artwork are perfectly straight. Crop out any tape, tacks, or background clutter.
Color check: Compare your photo to the actual artwork side-by-side. If the photo looks too warm (orange) or cool (blue), adjust the white balance until it matches reality.

Artwork Photography Checklist
Before You Shoot
Clean the artwork (remove dust or smudges)
Clean your camera lens (especially if using a phone)
Find a spot with indirect natural light (near a window, no direct sun)
Set up a neutral background (white, black, or gray wall/paper)
Setup
Place artwork flat against the wall or on an easel
Position camera so it is perfectly parallel to the artwork
Check that the artwork fills the frame without cutting off edges
Turn off overhead room lights to avoid color casts
Shooting
Hold camera steady or use a tripod
Use the grid lines on your camera to keep edges straight
Take multiple shots (at least 3) to ensure you have a sharp one
Check for glare; adjust angle if necessary
After the Shot
Compare photo to actual artwork for color accuracy
Crop out background, tape, or edges
Straighten the image if needed
Save as high-quality file (avoid compression if possible)
Comments